Multi-Factor Authentication – Enrollment Process – Microsoft Authenticator (Smartphone or Tablet)
PCC Information Technology will begin providing employees access to start enrollment for multi-factor authentication when logging into PCC resources. This new login process works with your cell, home, or office phone, a smartphone or tablet, or by using a browser extension. If you have already enrolled and are having issues, please take a look at our MFA FAQ page.
Additionally, to review and make changes to the MFA methods that you have set up, you can visit your Microsoft User Account – Security Info page. Here, you are able to change your default MFA sign-in method, or add/delete additional methods associated with your account.
Use Case
Users should select the Microsoft Authenticator option if they have a smartphone or tablet available to them.
Updating your MFA Device Information
When you get a new phone number or purchase a new Android or Apple device, you can update your MFA methods by:
- Going to aka.ms/mysecurityinfo
- Entering your PCC Email Address and Password when prompted
- From this screen you are able to add or delete your current MFA methods.
Preliminary Step: Downloading Microsoft Authenticator
Using your Apple or Android smartphone or tablet, you can download the Microsoft Authenticator App prior to starting the process of enrolling into PCC MFA. When opening the app, you will be asked to accept Microsoft’s privacy agreement (Mandatory), and asked to help improve Microsoft Authenticator (Optional). Once through the initial screens, you will select Add work or school account. From there, you can follow the below instructions.
Step 1: Getting Started
When logging into a PCC service after MFA is enabled on your account, you will see the below pop-up:
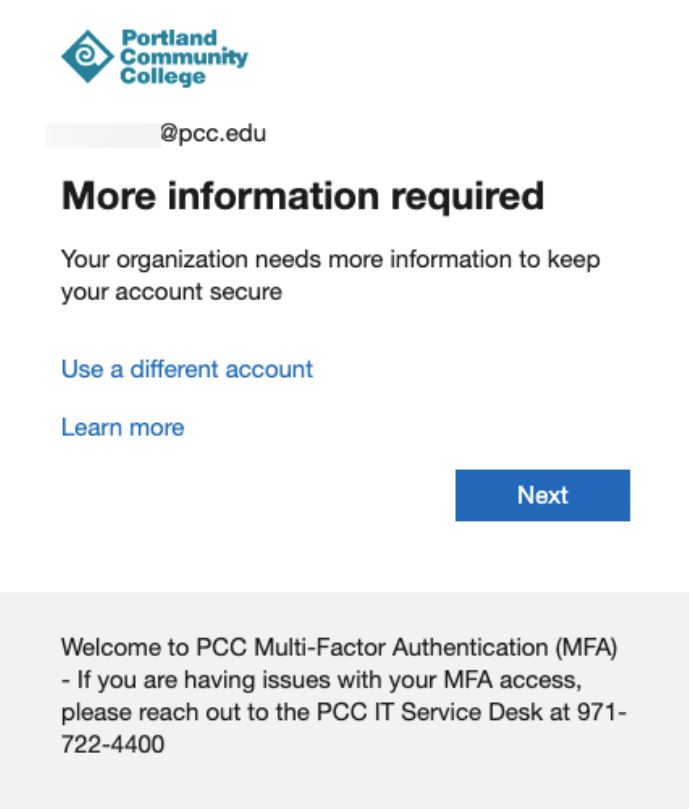
- You will select Next and be redirected to the MFA enrollment page
- Sign in using your MyPCC email address
Step 2: Using Microsoft Authenticator App on your Smartphone/Tablet to Enroll
On your computer
Note: If you have already downloaded the Microsoft Authenticator application, you can click Next on this and the next screen. If you have not downloaded the App yet, please follow the instructions above in the Preliminary Step: Downloading Microsoft Authenticator.
- Upon hitting next, you will be taken to the Microsoft setup page for the Microsoft Authenticator App
- A QR Code will be displayed on your computer.
On your phone
- Use your smartphone or tablet to scan the QR code while in the Microsoft Authenticator App.
- Click Add Account on your phone/tablet
- You may be prompted about “Recovery being disabled on your device.” Hit Continue, as the IT Service Desk can help with any recovery needed.
- Select Work or school account
- Select Scan QR Code
- You may receive a notification prompting you to let the Authenticator app access your camera (iOS) or to allow the app to take pictures and record video (Android). Select Allow. You must allow it so the app can scan the QR code.
- Scan the QR code on your computer screen with you phone’s camera. Once complete, you PCC account will be added to the app. Click next on the computer.
- Click Add Account on your phone/tablet
On your computer
- You’ll see a two-digit number on your computer screen.
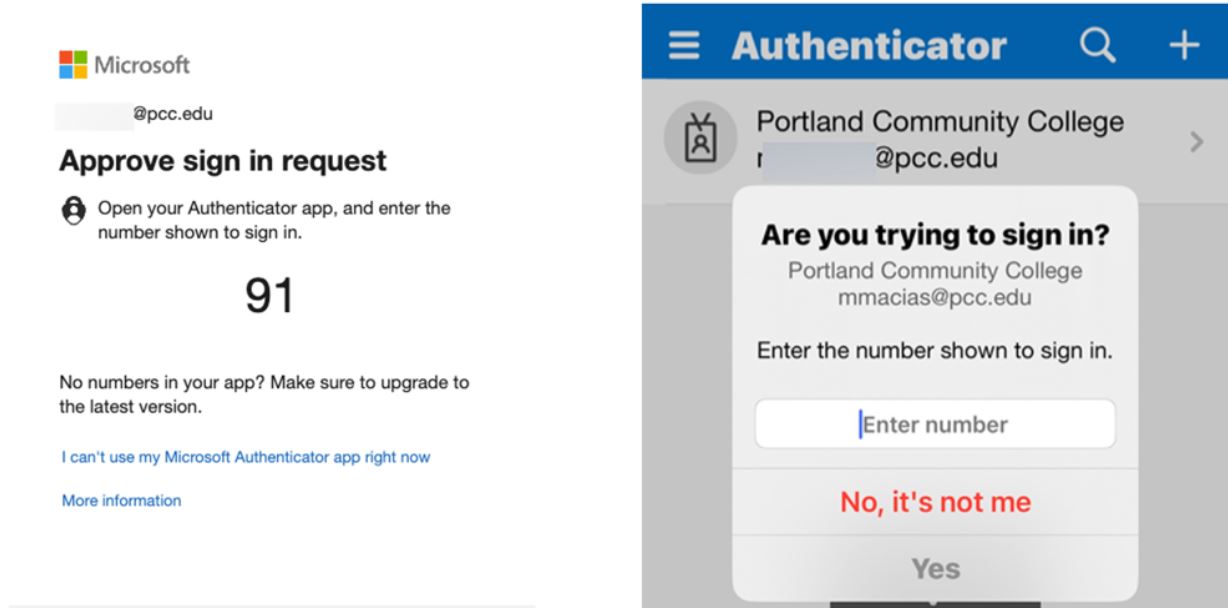
Computer screen example (left) and smartphone screen example (right)
On your phone
- A notification will be sent to your phone.
- Select the notification to open the Authenticator app.
- In the Authenticator app, enter the two-digit number shown on your computer screen. (image above)
On your computer
- You have officially completed enrollment!
- Select Done on your computer screen.
Next Steps (optional): Adding a second method to your account
Next, you can provide your cell phone or office phone number, or the browser extension as a second method of authentication. IT recommends having multiple methods set up on your account, as you may leave your cell phone at home, or work from a different device then usual. By having multiple MFA methods setup, you can be prepared for any of these scenarios.
- Go to your Microsoft Account – Security Info page.
- Here, you are able to Add a sign-in method, or Change your default sign in method
- You have the option of adding a text message and phone call with your cell phone, which will send you a 6-digit code to your phone, or call you and prompt you to hit the “#” button.
- You can also set up your MFA to work with your work phone or home phone, which will have you press the # key to verify.
- Note: When setting up your work phone, this should not be used with the VoIP call forwarding feature.
- You can setup the browser extension to be able to complete the MFA process from your internet browser.
- Note: You can only use the browser extension on one computer.
Get help from PCC IT
- Visit the Multi-factor authentication page.
- View training Help & Resources: Multi-Factor Authentication.
- View the PCC Multi-factor authentication tutorial.
- Call the PCC Service desk for help at 971-722-4400 or email servicedesk@pcc.edu
Additional Resources
- View solutions for common troubleshooting issues with MFA.
- Add an authentication method if you cannot access your primary device (recommended).
- Learn how to use a one-time password code to authenticate even when your phone can’t connect to Wi-Fi or cellular data.
- Change your default authentication method if desired.
- Reactivate if you lose your phone or need to reset it.