This content was published: October 21, 2019. Phone numbers, email addresses, and other information may have changed.
Video recording made easy
Posted by Rondi Schei
Creating a video from those PowerPoints or recording your screen has never been easier than it is with Office 365/2019/2016. A relatively recent feature in PowerPoint is the Recording Tab. This tab allows you to do some very nifty things with your slides and export the final version to a video file!
Major features
- Record a slideshow slide by slide. Benefits:
- You can simply re-record the slide with the mistake instead of starting over or having to use video editing applications.
- You can update your presentation at a future date and only re-record the new and improved slides.
- You can use the pen and highlighter functionality to draw on the presentation as you talk.
- Any information included in the notes section will present as a transcript while recording.
- Record your screen along with the webcam or just audio. Benefits:
- You don’t have to learn a separate screen-casting or video editing application.
- You can record your whole screen or just a portion of your screen.
- Inserted video from your computer will autoplay in your presentation. Benefits:
- Users will not have to click on the video for it to play when in presentation mode.
- When you export the presentation to video, it will play the entire video clip as well.
- Export to Video. Benefits:
- This allows you to publish your presentation as a video that can be streamed from My Media in D2L Brightspace, YouTube, or any video streaming site that you use.
- If you are only distributing the video, you do not have to add alt-text to images or worry about the reading order of your PowerPoint. (If you plan to distribute the PPT files as well, then you will need to ensure proper reading order and alt text for images.)
Enabling the Recording tab
To enable this feature go to File > Options > Customize Ribbon and check the box next to Recording.
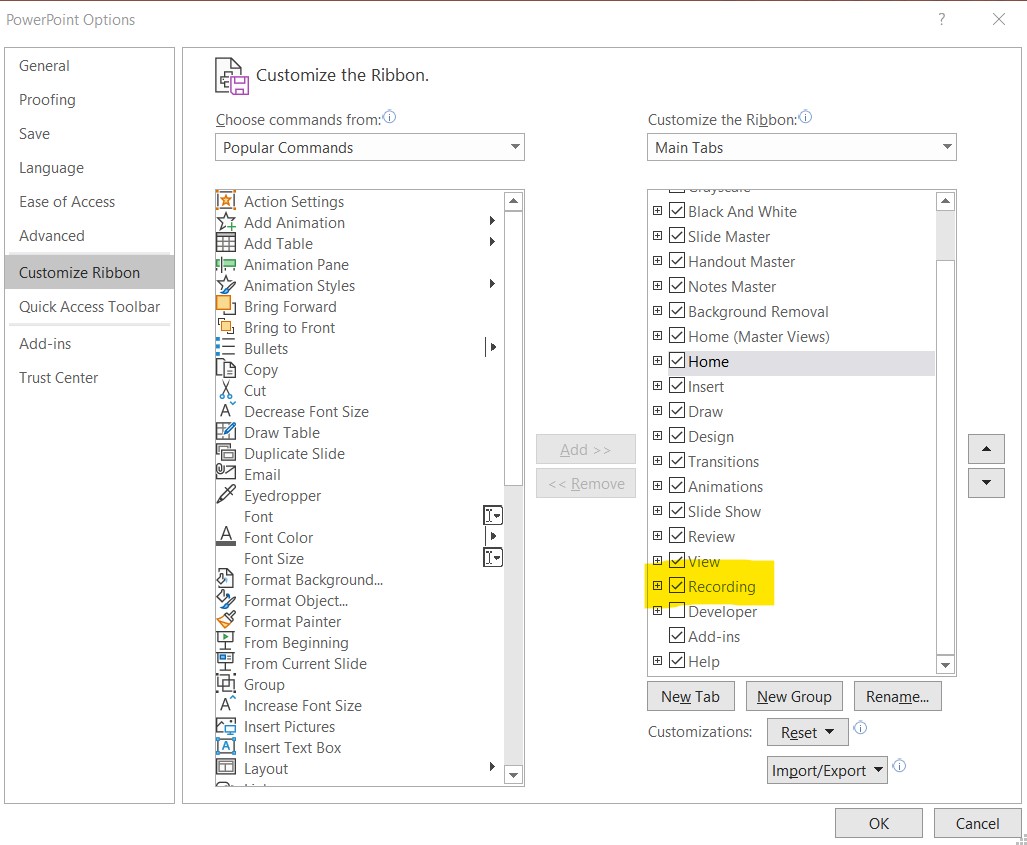
When you click OK, you should see the Recording Tab appear in the PowerPoint Ribbon:

Recording tips
When recording consider that your audience may be listening to it on their commute to work and only has the ability to listen and not watch. Could they understand the crux of your presentation without being able to see the slides?
- Avoid using the terms “and here you see,” “over there,” “right there,” etc.
- If there is text on the screen and you want the viewer to know that text, then also read it out loud. For instance:
- A sentence may need to be read out for a grammar lesson, instead of only saying “This sentence needs a comma between…”
- An equation should be read out prior to it being solved, instead of saying “In this equation, subtract 2 from both sides…”
- For diagrams, flow charts, graphs, models and the like, try your best to provide enough information that if someone wasn’t able to see the slide, they would still be getting the information they needed.
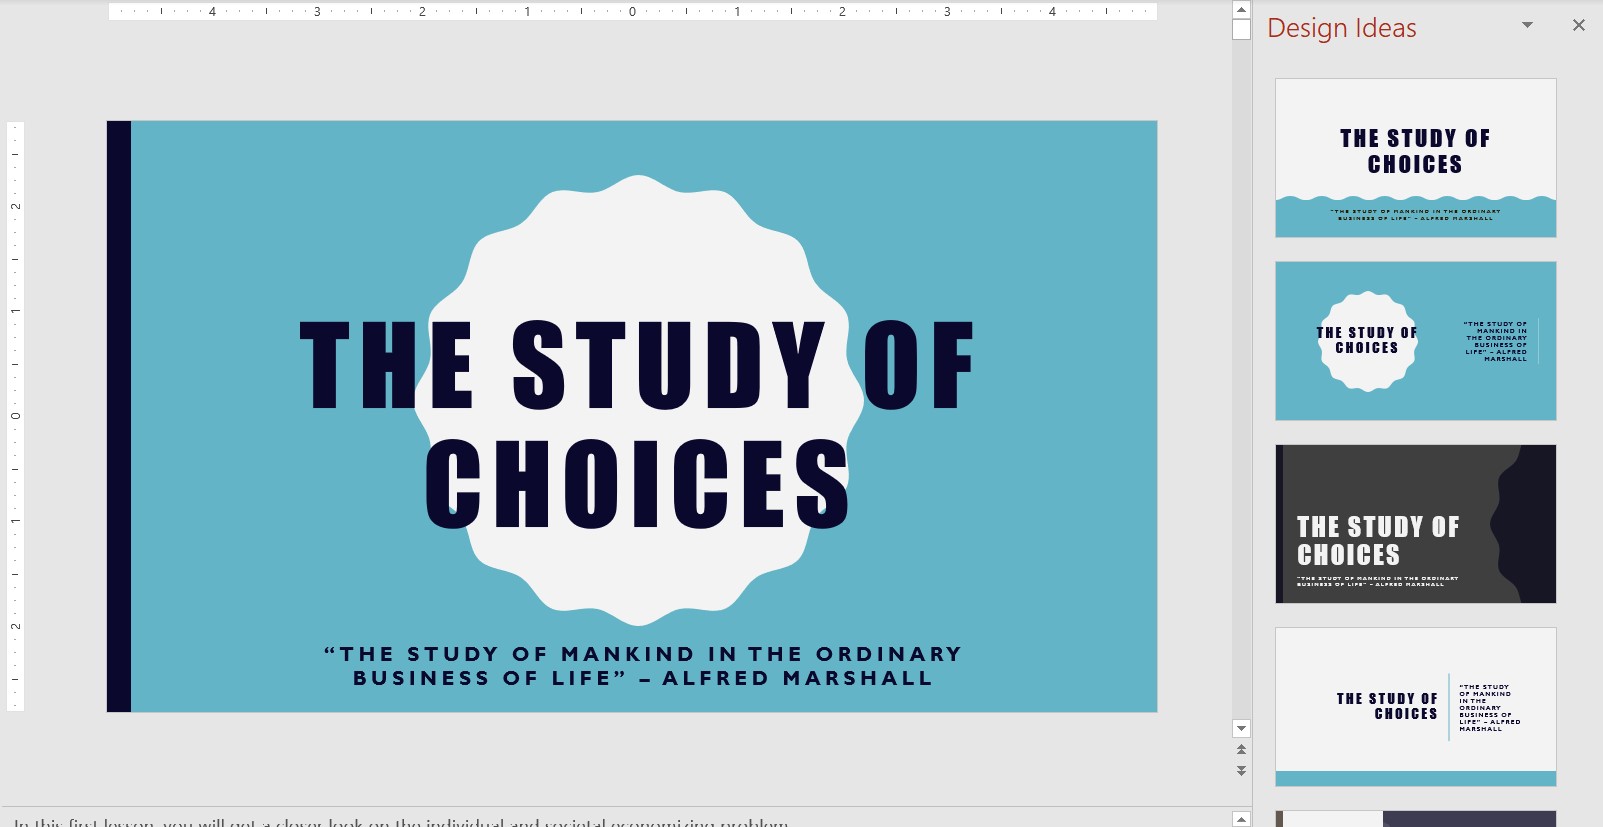
- Have your slides clean, engaging and not too cluttered. In the new Office 356/2019 this is easier than ever with the new PowerPoint Designer tool. The screenshots below give you a taste of the different styles that PowerPoint can auto-generate for you in the Design Ideas Pane.

Tutorials to get started
- Record a slide show with narration and slide timings
- Record your screen in PowerPoint
- Turn your presentation into a video
- Create professional slide layouts with PowerPoint Designer
About Rondi Schei
As the Course Development Program Manager for Online Learning, Rondi works with faculty to develop engaging instructional materials and design high quality online courses. more »