Download Zoom cloud recording
Important Notes
- If you run into any issues following these steps, please contact the Online Faculty Helpdesk
- Phone: 971-722-8227
- Email: dlhelp@pcc.edu
- Zoom cloud recordings will be kept only for 6 months. If you want to keep it more than 6 months, you will need to save it to our streaming server, Kaltura.
- Be aware of PCC FERPA policy and do not share videos with your students’ names.
Step 1: Download zoom cloud recording
- Go to the PCC Zoom website
- Click the Sign In option and use your MyPCC credentials to sign in
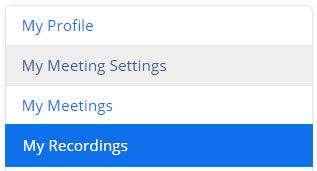
- Click on My Recordings.
Note: If your meeting has not finished converting, the recording will show in the list with a Processing Recording label. Once the recording has finished converting, you will be able to view, share, download or delete your cloud recording. - You should see a list of your cloud recordings. You can enter the date range or use the calendar icon to choose the dates, and click on the Search button, to quickly find your recordings.
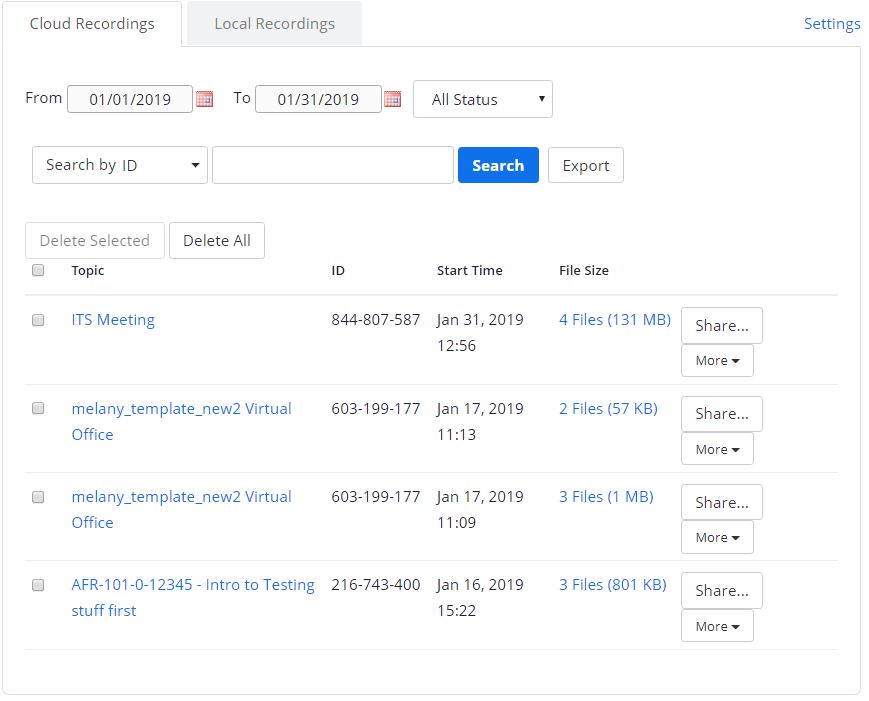
- Once you found the recording that you want to download, click the link in the File Size column. For example 3 Files (801 KB).

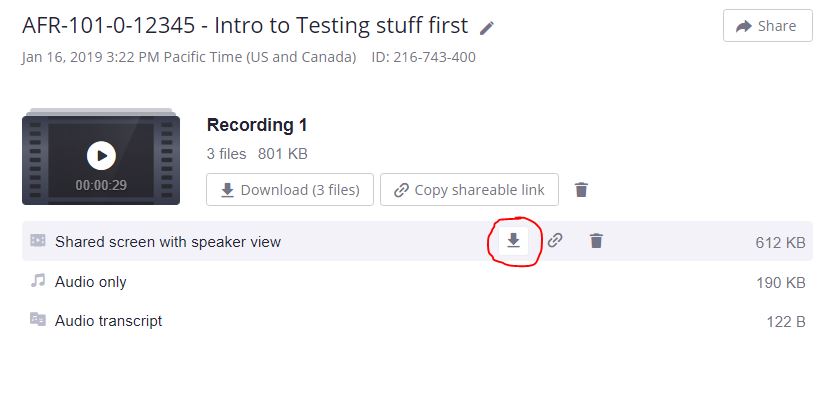
- Click the download icon for Share screen with speaker view to download only the mp4 file.
Step 2: Upload to Kaltura
Note: Make sure to follow the PCC FERPA policy and do not share videos with your students’ name.
If you plan to use your recording for future class, you have 3 options:
- use a video editing program, such as iMovie, Windows Movie Maker, Camtasia, or Adobe Premier, if you need to trim out and completely remove specific parts of the recording
- re-create your lecture recording and use your personal zoom meeting, then download and move the recording to Kaltura
- re-create your lecture recording and use Kaltura Capture to record
Follow these instructions to upload media to our streaming server (Kaltura)
Step 3: Post your recording in your course
Follow Option 1 or Option 2 instructions to embed a video to your course
Optional: Share recordings with Google Drive
If you wish to share specific lectures with a student who is finishing an incomplete, it can be easier to share the specific recordings directly with the student using Google Drive. To do so, complete step 1 above, then:
- Log in to Google Drive with your PCC account.
- Create a new folder for your recordings.
- Upload your files to the new folder
- Click the share button for the folder and enter your student’s pcc email address. Set the permission to “View.”
- Remember to remove the sharing (or delete the recordings) once the agreed upon incomplete deadline has been reached.
Note: Be aware of FERPA concerns and do not share videos with students who are not enrolled in the section if the recordings include any student names or likenesses.