
Registration instructions for teen classes
Students need to create a PCC account and are strongly encouraged to fill out the Consent to Release form before registering for classes. Instructions for each of these steps are below. Program staff are unable to speak to anyone, including parents, about a student or their registration status unless there is a Consent to Release form on file.
Please note that Intent to Register forms are processed on a first-come, first-served basis and are not complete until the parent/guardian has also signed the liability waiver. These can take up to two business days to process; to help ensure a spot in your requested classes, please send in your form no later than two business days before the start of the class.
How to create an account
- Visit the Community Ed application page.
- Follow the prompts to create an account.
Consent to Release form instructions
- Log in to MyPCC (teen’s account).
- From your MyPCC Home tab, scroll down to the Quick Links menu (bottom left of the page).
- Select Consent to Release and fill in all the required information.
- Select the types of records you would like shared. The most common selections for teen students are course schedules, student finances, enrollment status, attendance, and grades.
- When you have filled out all required information, click Add this name.
- If you would like to add multiple people, click Return and repeat the steps.
Confidential code: The confidential code is a password or code that the student creates and provides to us. It is used to verify the identity of authorized individuals when they call to discuss student information. We will ask for this code each time student information is discussed.
Intent to Register form
Steps for the student to complete
After you have created a PCC account, use those PCC account credentials to log in and complete the Intent to Register form.
The Intent to Register form is a request to Community Ed to register for a class. The student is not automatically registered into the class upon submission of this form. The student and parent/guardian receive a confirmation email from Community Ed once they are registered into the class, generally within 1-2 business days.
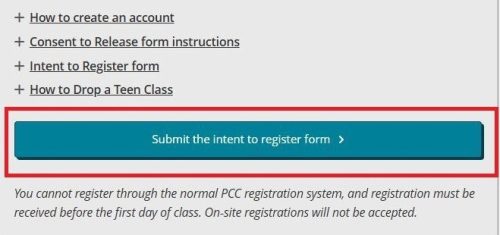
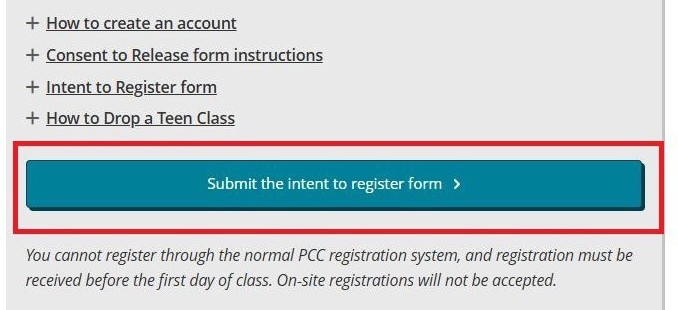
- On the Teen Summer Program page click Submit the intent to register form.
- The form will prefill your name, G number, and PCC email. You will need to enter the other required information. If a class is marked FULL, you will not be able to select that class.
- Once you have filled in the required information and selected your classes, hit the Next button.
- Check the box to agree to the policies.
- Sign and date the form.
- Click Submit Form at the bottom of the page.
The next page confirms that the form has been submitted. You will also receive a confirmation email that the Intent to Register form has been submitted.
Steps for the parent/guardian to complete
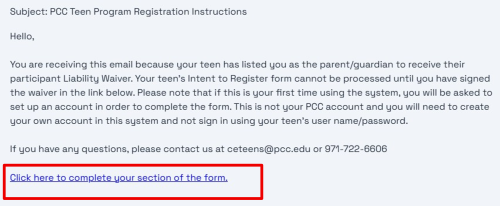
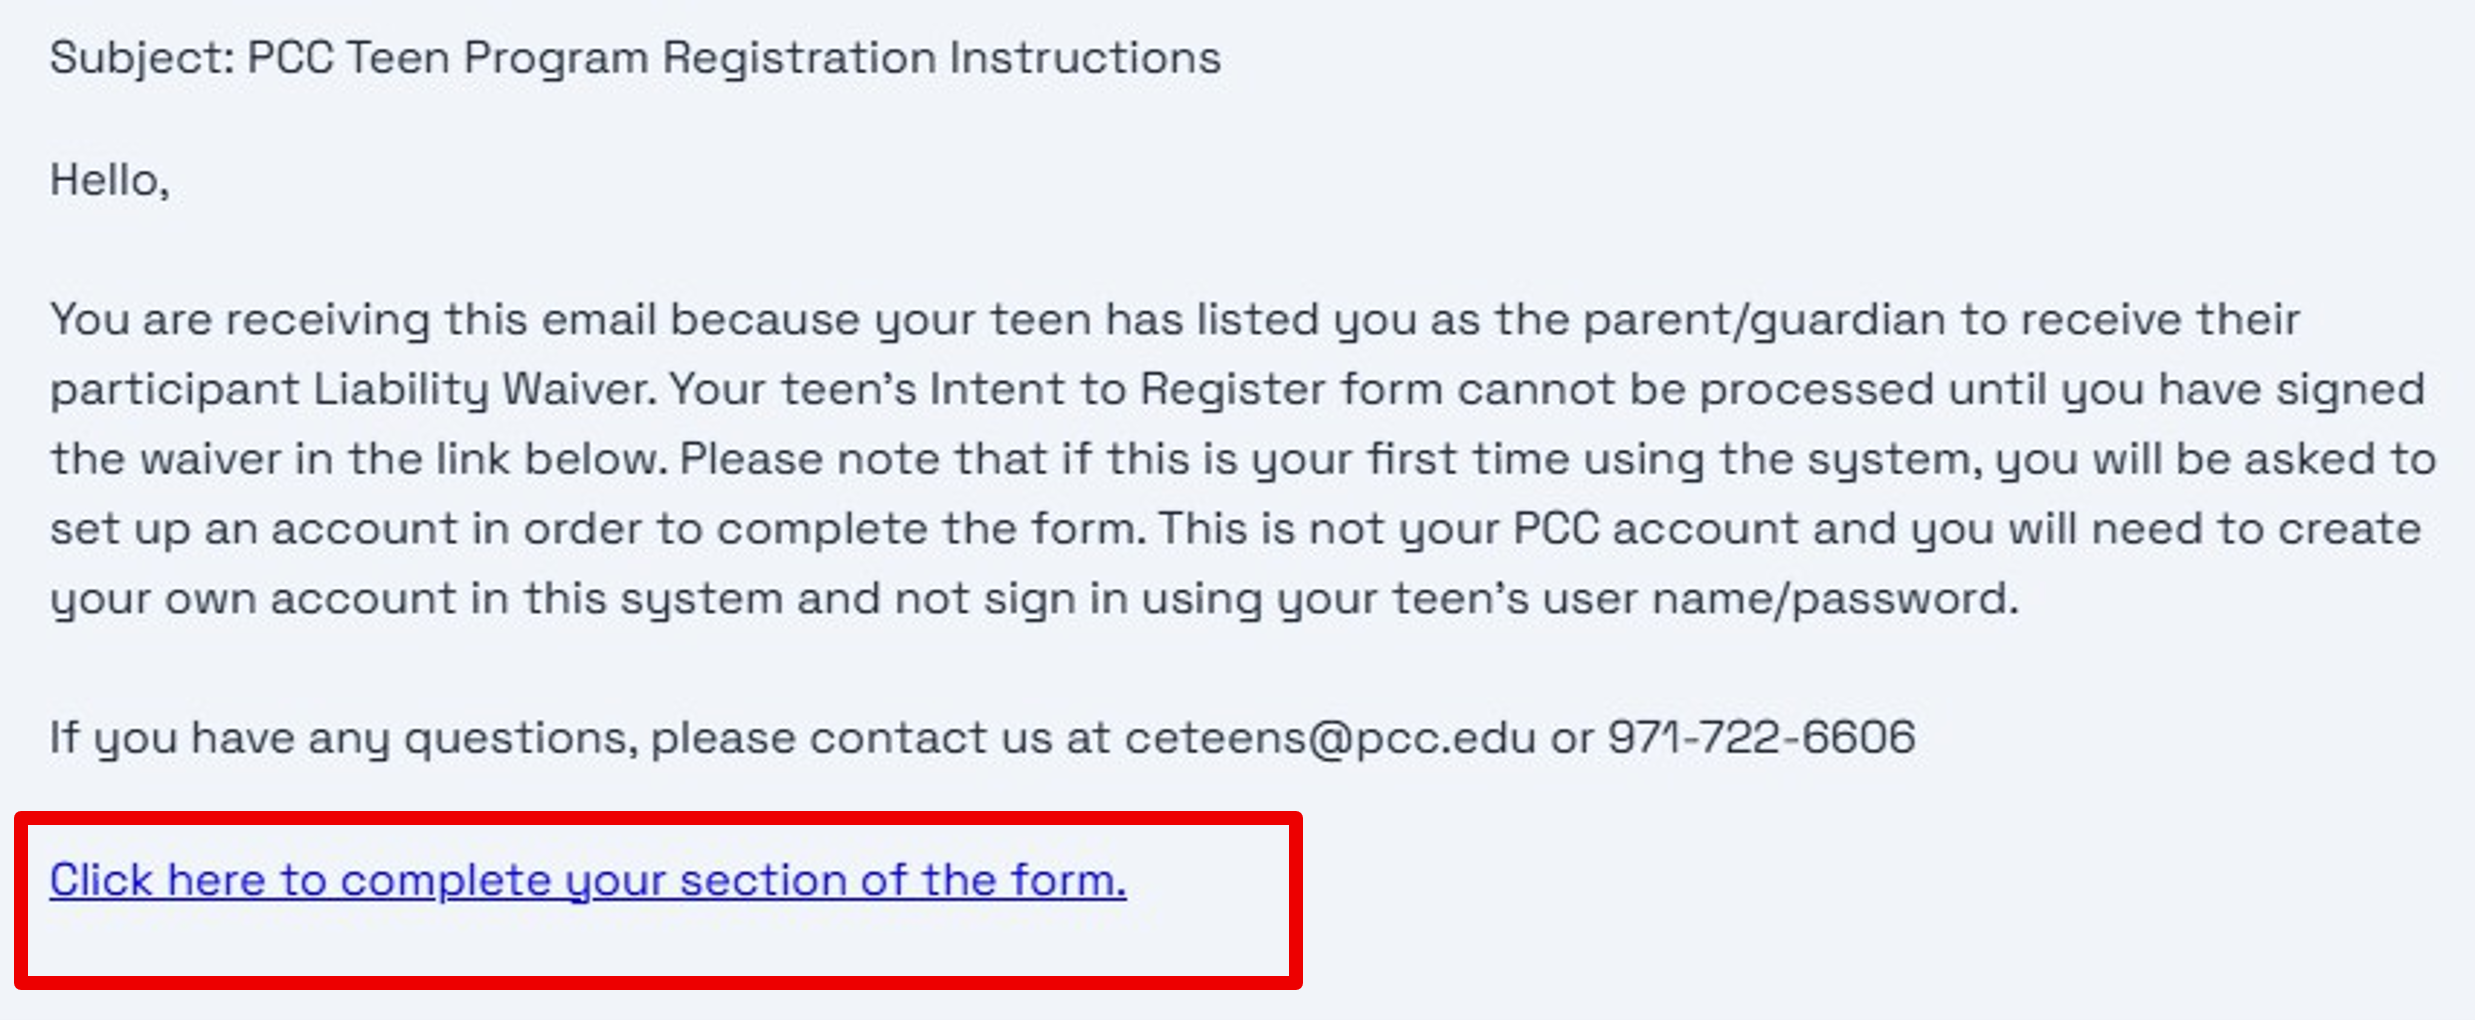
After the teen’s steps above are completed, an email will be automatically sent to the parent/guardian that was listed on the Intent to Register form.
- Follow the link at the bottom of the email to create your own separate account through Dynamic Forms. Please Note: this is a separate system from MyPCC. You cannot login to this system with your teen’s PCC username and password, you will need to create a new account through Dynamic Forms.
- If you are logged into your teen’s MyPCC account in the same browser, you may get an error saying “you are not the originator of this form and are not allowed to co-sign.” Just click the Log in as a different user button.
- If you completed this process last year, you will use that same login and password. If you have forgotten your login information, click the forgot password button. If you have never completed this process, then you will need to create a new account.
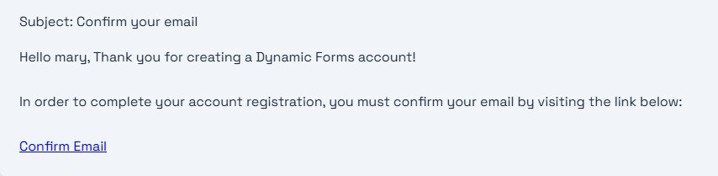
- After you create your new account, you will be asked to verify it. Please check for an email asking you to confirm your email address.
- Once you log in to Dynamic Forms, it will take you to the Intent to Register form your teen filled out. Scroll all the way to the bottom and hit Next.
- You will see your teen’s signature page. Scroll to the bottom and hit Next. This will take you to the spot on the form that you as the parent/guardian need to sign.
- Scroll to the bottom, check the box to agree to the policies.
- Sign and date the form.
- Click Submit Form at the bottom of the page.
You will see a screen that confirms the submission of the liability form. Both the parent and the teen should also receive a confirmation email that the liability waiver was signed.