Adding release conditions
Release conditions allow you to create a custom learning path through the materials in your course. When you attach a release condition to an item, your students won’t be able to view or access that item until they meet the associated condition. Let them know that you have set up these release conditions by posting them in the announcements or posting the descriptions of the module/topic, etc. Note: Once users meet an associated condition, a pop-up notification will appear to inform them that additional content is now available.
- What is required: A D2L Brightspace course and activity to put the release condition
For example:
- Require students to complete an activity (e.g., Syllabus Quiz, Introduce Yourself, etc.) before accessing course content.
- Require students to obtain a certain percentage on an activity (e.g., 100% on Syllabus Quiz) to access content items.
- Require students to complete a non-graded activity before accessing a graded activity.
- Release an answer key to students who completed the assignment.
If you attach multiple conditions to an item, students must meet all conditions before they can access the item. For example, you could require users to visit the first three content topics in a unit before gaining access to an associated quiz.
Once a user meets a release condition, the condition is cleared for that user and cannot be reset. For example, if you attach a release condition to a discussion topic requiring users to achieve more than 60% on a quiz before they can access that topic, and one of your participants receives 72% on the quiz but you adjust their grade to 55% they will be able to access the topic because they did meet the requirement at some point.
How do you add Release Conditions?
The Release Condition icon![]() or
or ![]() will be displayed any time a release condition is involved with a tool. You always place the release condition on the item that you would like to be released, not on the item that triggers its release. For example, if I want a content topic to be released after a quiz has been taken, I will place the release condition on the content topic, not the quiz.
will be displayed any time a release condition is involved with a tool. You always place the release condition on the item that you would like to be released, not on the item that triggers its release. For example, if I want a content topic to be released after a quiz has been taken, I will place the release condition on the content topic, not the quiz.
Video Tutorial
Which area in Brightspace can I use Release Conditions?
You can access release conditions for any of the following course items: Checklist, Content modules, Content topics, Custom widgets, Discussion forums, Discussion topics, Assignments, Grade items, Grade categories, Intelligent Agents, Announcement items, Quizzes, and Surveys. Below we show you some course items that are commonly used.
Learn more about release conditions types and what the condition means
Content modules
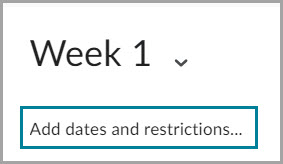
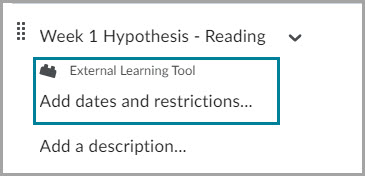
- Under the module title, click Add dates and restrictions…
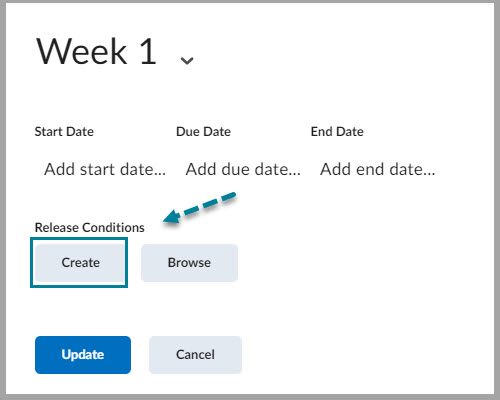
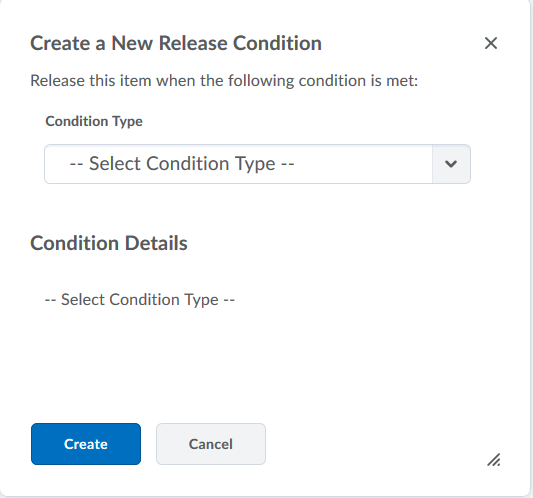
- Click Create and choose the condition type and details from the list and click Create.
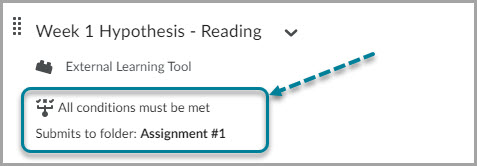
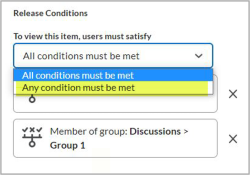
If you have more than one condition, choose between “All conditions must be met” (default) or “Any condition must be met.”
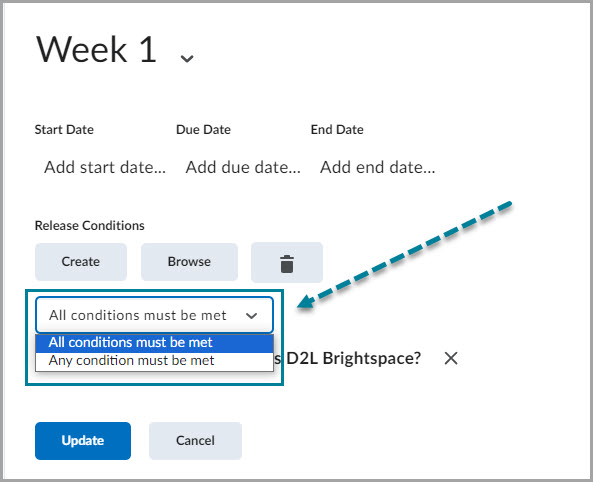
- Click Update to save.
You should see the release condition icon below the module’s name.

- To remove the release condition, click on the release condition item below the module’s name, click X next to the condition item, and click Update to save.
Content topics
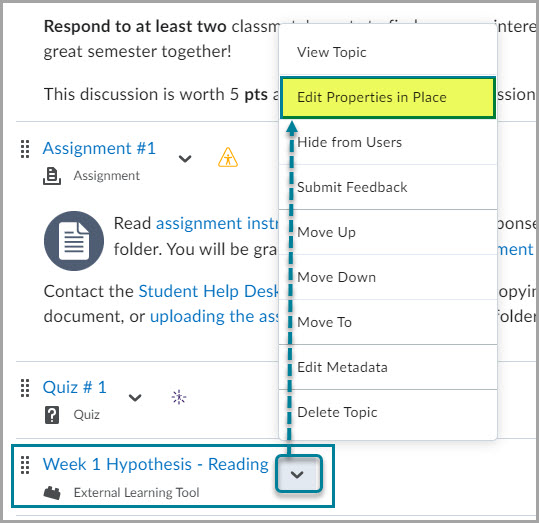
- Click the topic action menu and select Edit Properties In-place.
- Click Add dates and restrictions…
- Click Create and choose the condition type and details from the list and click Create.
If you have more than one condition, choose between “All conditions must be met” (default) or “Any condition must be met.”
- Click Update to save.
You should see the release condition icon below the topic’s name.
- To remove the release condition, click on the release condition item below the topic’s name, click X next to the condition item, and click Update to save.
Discussion forums and topics
Create Release Conditions on a Discussion Forum
- Click on the Discussions link from the course navbar.
- Click the forum action menu and select Edit forum.
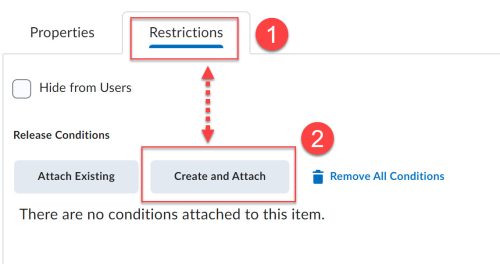
- Click the Restrictions tab.
- Click Create and Attach, choose the condition type and details from the list, and click Create.
If you have more than one condition, choose between “All conditions must be met” (default) or “Any condition must be met.” - Click Save and Close to save.
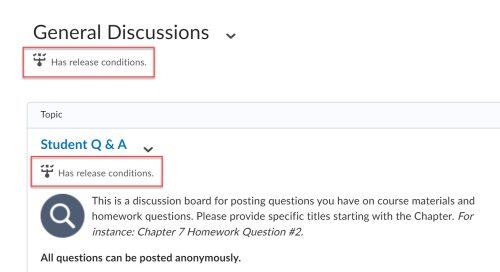
You should see the release condition icon ![]() below the discussion forum name.
below the discussion forum name.
Create Release Conditions on a Discussion Topic
- Click on the Discussions link from the course navbar.
- Click the topic action menu and select Edit Topic.
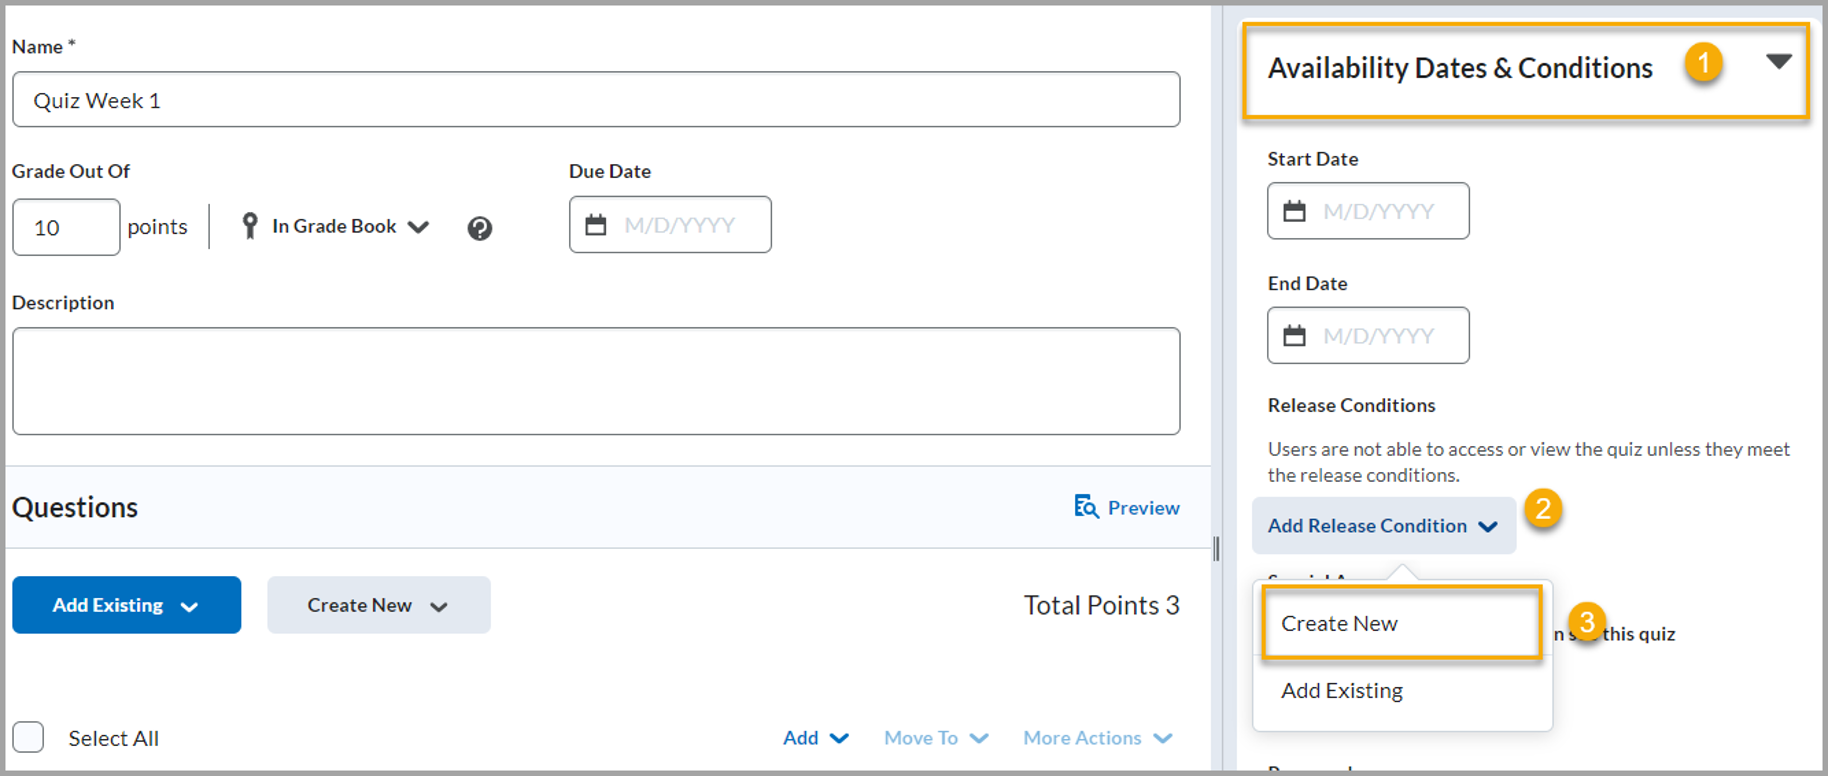
- Click the Availability Dates & Conditions accordion on the right of the page.
- Click the Add Release Condition option, select Create New from the drop-down menu, choose the condition type and details from the list, and click Create.
If you have more than one condition, choose between “All conditions must be met” (default) or “Any condition must be met.” - Click Save and Close to save.
You should see the release condition icon ![]() below the discussion topic name.
below the discussion topic name.
- To remove the release condition, follow the steps above and click on the X next to the release condition item. Then click Save and Close to save.
Assignments
- Select the Assignment link from the course navbar
- Locate the Assignment that you plan to create a Release Condition
- Click on the action menu next to the Assignment Title and choose Edit
- From the Edit Assignment page, in the column on the right, select Availability Dates & Conditions to expand the options.
- Select Add Release Condition, then Create New
- Select the Condition Type and Condition Details according to the conditions you would like to set.
- Save any changes using Save or Save and Close if you are done editing the Assignment
- Note the Release Condition icon
 to the right of the Assignment title on the Assignments page.
 - To remove a Release Condition, follow steps 1 through 4 and click the
 button next to the release condition.
Quizzes
- Go to the Quizzes tool
- Click the quiz action menu and select Edit
- Click the Availability Dates & Conditions drop-down list
- Click Add Release Condition and then select Create New
- If you have more than one condition, choose between “All conditions must be met” (default) or “Any condition must be met.”
- Click Save and Close to save.
- You should see the release condition icon next to the quiz’s name.
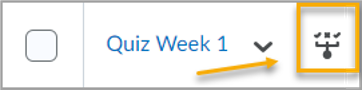
- You should see the release condition icon next to the quiz’s name.
- To remove the release condition, follow the steps above and click on the X next to the release condition item. Then click Save and Close to save.
Best practices for creating release conditions
Tutorials
- Watch the video on how to attach a release condition