Presentation system instructions
These instructions describe how to operate a classroom media system with the Aver M70W Document Camera.
To power on system
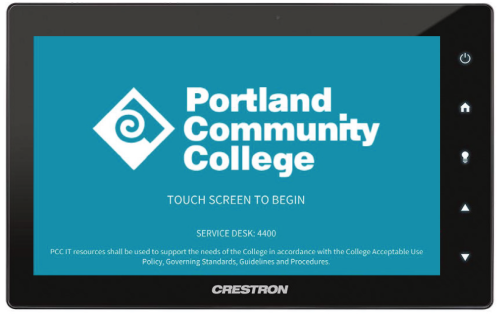
If you see this image on the user interface, touch it once. This will automatically turn on the projector and activate the system.
Computer, monitor, and document camera are powered on individually. Ensure they are ON before proceeding.
Interface buttons
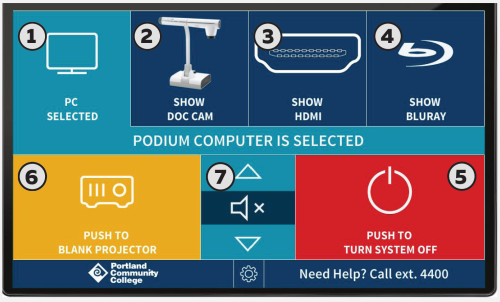 Along the top of the interface are buttons for each source that can be projected on the screen. Please select the desired source to present to your class. If the source is disconnected a message “signal not detected” will appear. Make sure your source is connected and turned on. Greyed out sources are not available.
- Show PC: Built-in podium computer
- Show Doc Cam: Document camera
- Show HDMI: External Source (HDMI)
- Show Bluray: To play a DVD or a BluRay disk with system player, press SHOW BLURAY button. Press this button again for controls such as eject, play, pause, stop etc.
- Push to turn system off: Press this button when you are finished using the presentation system.
- Push to blank projector: Blanking keeps the projector on without projecting the image. If not unblanked the system will turn off in 2 hours.
- Volume symbol: Volume controls: up, mute, down
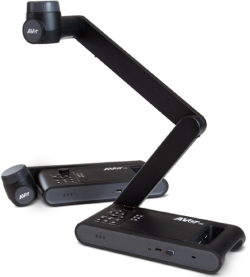
AverVision M70W
Display document camera via computer software
- Ensure PC and document camera are powered on (document camera power button light should be solid green)
- Ensure Podium Computer (button 1, above) is selected on the touch panel
- Click AverTouch document camera icon on the PC desktop
- Extend the document camera arm and angle it as needed
- The AverVision M70W camera head has a page orientation wheel at the top that lets you change the view from landscape to portrait
Display document camera without computer software

AverTouch (Document Camera)
- Ensure document camera is powered on and connected via HDMI
- On the touch interface press Show Doc Cam
Turn system off after use.
For assistance, call ext. 4400