Create group discussions that use a single grade item
Restricting access to discussions and/or assignments means that students will only see the group they are enrolled in when they are in these areas. This reduces confusion for your students, who will only see the activities in which they should participate.
- Who is this for: Online Instructors
- What is required: A D2L course and group-based activities
Steps
- Go to Course Admin page in the course.
- Click on Groups.
- On the Manage Groups page, click New Category.
- Give the new category a name, such as Discussion Groups.
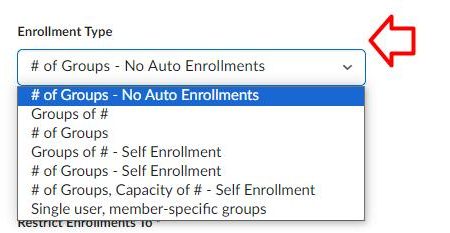
- Choose an Enrollment Type and the number of groups or users.
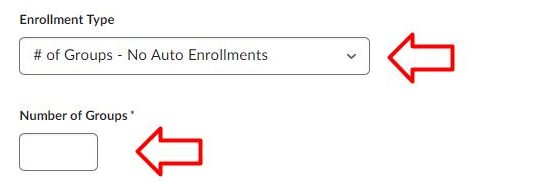
There are several Enrollment Type options are available, you can choose one that would work the best for your class situation.
- At the bottom of the page, check the option to Set up discussion areas.
- Choose an existing forum or create a new one.
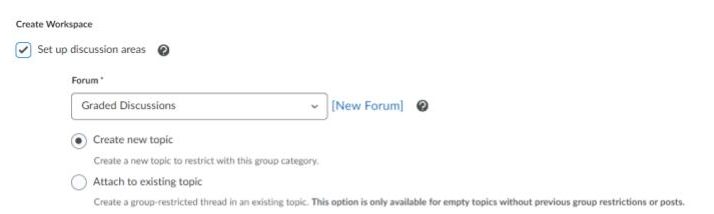
- Leave the default selection of Create new topic and hit the Save button below.
- On the Create Restricted Topics page, choose the option to Create one topic with threads separated by group. This is choice allows the creation of a single discussion topic with a single associated grade item, but restricts students from seeing the posts of anyone outside of their own group.
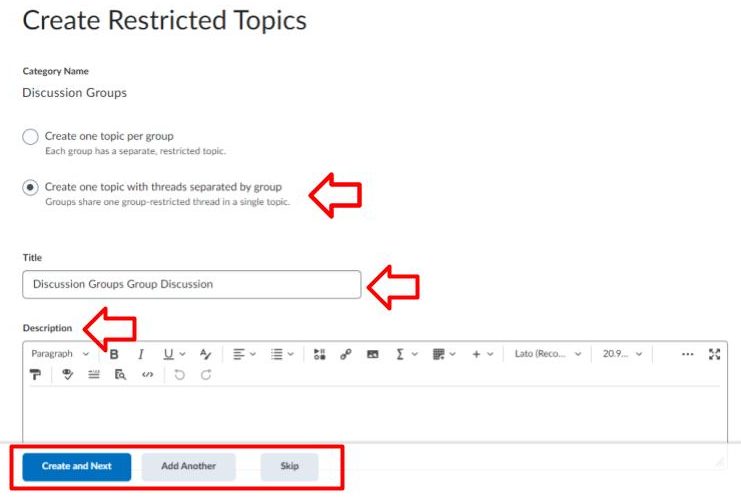
- Give the discussion topic a Title and Description. These are the fields in the Discussions area of the course that feature the name and prompt for what the students should discuss.
- If you want to create more than one, choose Add Another. It is recommended that you create multiple discussion topics all at once by the method rather than trying to come back and create more later. Repeat the same steps for addition discussion topics.
- If you only want the one discussion topic that you’ve created, click Create and Next.
- On the Workspace Summary page, click Done.
- On the Edit Category page, click Save.